
Reviving Old Wooden Furniture with Natural Beeswax
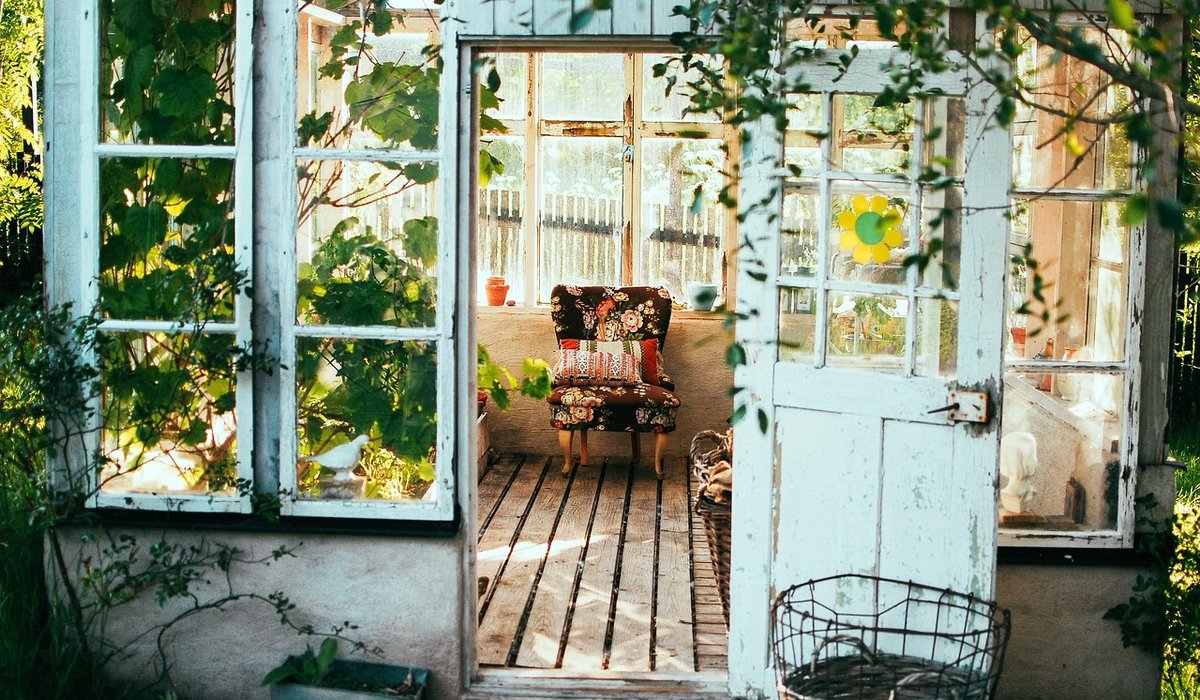
There is something quietly satisfying about bringing a tired piece of wooden furniture back to life. A scratched sideboard found at a car boot sale, a grandmother's oak table clouded by decades of polish, a pine dresser that has gone grey and thirsty in a sunny room — all of them respond beautifully to the simplest of finishes. Natural beeswax feeds the timber rather than sealing it under a plastic film, leaving a soft, honeyed sheen that deepens with every passing year.
Why Beeswax Suits Old Wood
Beeswax is one of the oldest furniture finishes in existence, and for good reason. Unlike modern polyurethane varnishes, which sit on the surface and can chip or peel in patches, wax soaks into the top few millimetres of the grain and hardens gently as it cures. The wood can still breathe, which matters enormously if you live in an older house where humidity shifts with the seasons.
It also has a forgiving quality that suits anyone working by hand. Mistakes can be buffed out, thin patches can be built up over weeks, and the finish never looks factory-perfect — which is precisely the charm. If you are drawn to a slow, seasonal approach to your home, wax fits that rhythm: small amounts of effort, repeated over time, with a result that improves rather than degrades.
Gather Your Kit
You need very little, and most of it lasts for years. Rather than buying a great many things, buy a few good ones.
- A block of pure beeswax, or a ready-made beeswax paste polish
- Fine sandpaper in 240 and 320 grit, plus a sanding block
- 0000 grade wire wool for awkward corners and old wax build-up
- White spirit and a few lint-free cloths
- A soft shoe brush or upholstery brush for burnishing
- Clean rags, ideally old cotton sheeting cut into squares
If you would rather make your own polish, gently melt 100g of grated beeswax in a clean jar set in a pan of hot water, then stir in 200ml of turpentine substitute or a mix of turpentine substitute and raw linseed oil. Work near an open window, keep the mixture away from any flame, and let it cool to a soft paste before use.
Clean the Surface Gently
Before any wax goes near the wood, the surface must be free of grime, grease and old silicone polish. Wipe the whole piece with a cloth barely dampened with white spirit, working along the grain rather than across it, and turning the cloth frequently so you are lifting dirt rather than smearing it around.
For heavy build-up in mouldings and carved detail, use 0000 wire wool with a little white spirit. Go lightly — the aim is to soften and lift, not to scrub. Sticky rings left by drinks or heat can often be eased away with the same treatment. Leave the piece to dry overnight in a well-ventilated room before you so much as look at the sandpaper. Never use a dripping wet cloth on bare timber; water raises the grain and can lift veneer at the edges.
Sand Away the Roughness
Run your fingertips across the surface with your eyes closed. You will feel what the eye misses: raised grain, tiny splintered edges, the ghost of an old water mark. Deal with those areas using 240 grit paper wrapped around a cork block, always following the direction of the grain. Finish with 320 grit for a smooth, even surface.
A few practical cautions:
- Veneer demands respect. If the piece is veneered, sand with a light touch and stop the moment you see colour change — you can burn through in seconds.
- Raise dents before sanding. Place a damp cloth over the dent and press with a warm iron for a few seconds. The fibres swell and the dip often disappears.
- Protect the patina. Darkened edges, worn corners and historic marks are part of the piece's story. Sand the damage, not the character.
Dust thoroughly with a brush and a barely damp cloth, then let the wood sit for an hour or two so any moisture from the cloth evaporates.
Apply Thin Layers of Beeswax
Less is genuinely more here. Scoop a small amount of wax onto a lint-free cloth — a teaspoon is plenty for a whole chair — and work it into the grain in small circles, then finish with long strokes along the grain to even everything out. You are aiming for a dull, slightly tacky film, not a thick smear.
Leave the wax to settle for twenty to thirty minutes, until it feels hazy rather than wet. Then buff firmly with a clean cloth, folding it regularly so you are always using a fresh surface. You will feel the resistance ease as the wax hardens and the grain begins to glow.
Two or three thin coats, spaced a day apart, will give far better results than one generous application. The first coat feeds, the second evens, the third brings up that soft sheen.
Buffing and Ongoing Care
The final buff is where the magic happens. Once the last coat has cured for at least eight hours, take a soft brush and work it briskly over the whole piece, then follow with a cloth. The friction warms the wax and lifts it into a quiet, satin glow — nothing glossy, nothing plastic.
From then on, maintenance is a pleasure rather than a chore. Dust with a dry cloth, re-wax high-traffic areas such as table tops and drawer fronts every six to twelve months, and keep furniture away from radiators and direct sunlight, which will dry the timber and dull the finish. Use coasters under hot mugs and wipe spills promptly. Looked after this way, a piece you rescued on a rainy Saturday morning will outlast most things you could have bought new — and it will smell faintly of honey whenever the sun warms it.


Look for sturdy wooden boards, enamel tins and plain ceramics that can be refreshed. Simple paint, oil or new handles can give them a second life.
Reduce clutter, choose blackout curtains and keep the room cool. A comfortable mattress, soft bedding and dim lighting can help you unwind before bed.
Start with one small habit, such as opening a window or making tea without rushing. Gentle routines can make the whole day feel calmer and more intentional.
Houseplants, natural materials and views of greenery can soften a room. Place a few easy-care plants where you will see them daily and enjoy the quiet benefits.